Organization Tips · 4 min read
How to make garage, attic, and basement storage easier to use
Make garage, attic, and basement storage usable by checking access and environmental suitability before adding capacity. Work on one zone, choose storage rated for the intended load, keep necessary routes and equipment access clear, and identify containers. Save useful contents photos and current locations so remote belongings remain findable without repeated unpacking.
This guide is for household overflow areas where boxes have become difficult to identify or retrieve. You will plan one manageable zone without assuming all overhead, attic, or basement space is suitable for storage.
What should I check before adding shelves or containers?
Check whether the area can appropriately support the belongings and the people retrieving them. More capacity is useful only when access, load, and storage conditions remain suitable.
Consider moisture, temperature, lighting, lifting, and routes through the space. Attic floors, ceiling racks, and wall fixings should not be assumed capable of holding a proposed load; follow the relevant product and building requirements and use qualified help where needed.
The U.S. Fire Administration’s basement and garage guidance addresses flammables and storage near equipment. Check applicable local and equipment requirements rather than treating one path-width rule as sufficient for every situation.
How do I improve one crowded storage zone?
Choose a small area, protect its access, and finish its decisions before expanding. Keep the work within what you can move and return comfortably.
- Identify necessary routes. Keep exits and required equipment or service access available while working.
- Choose one shelf or corner. Separate ordinary exits, uncertain ownership, and special-disposal materials without emptying the whole room.
- Check suitable contents. Relocate belongings whose care needs do not match the conditions.
- Choose practical storage. Follow load and installation instructions for shelving; keep container weights manageable for their users.
- Identify each place. Use distinct shelf and container names visible from the retrieval direction.
- Record and test. Save contents views, record the actual location, and retrieve one item to test the route.
What would a findable garage shelf look like?
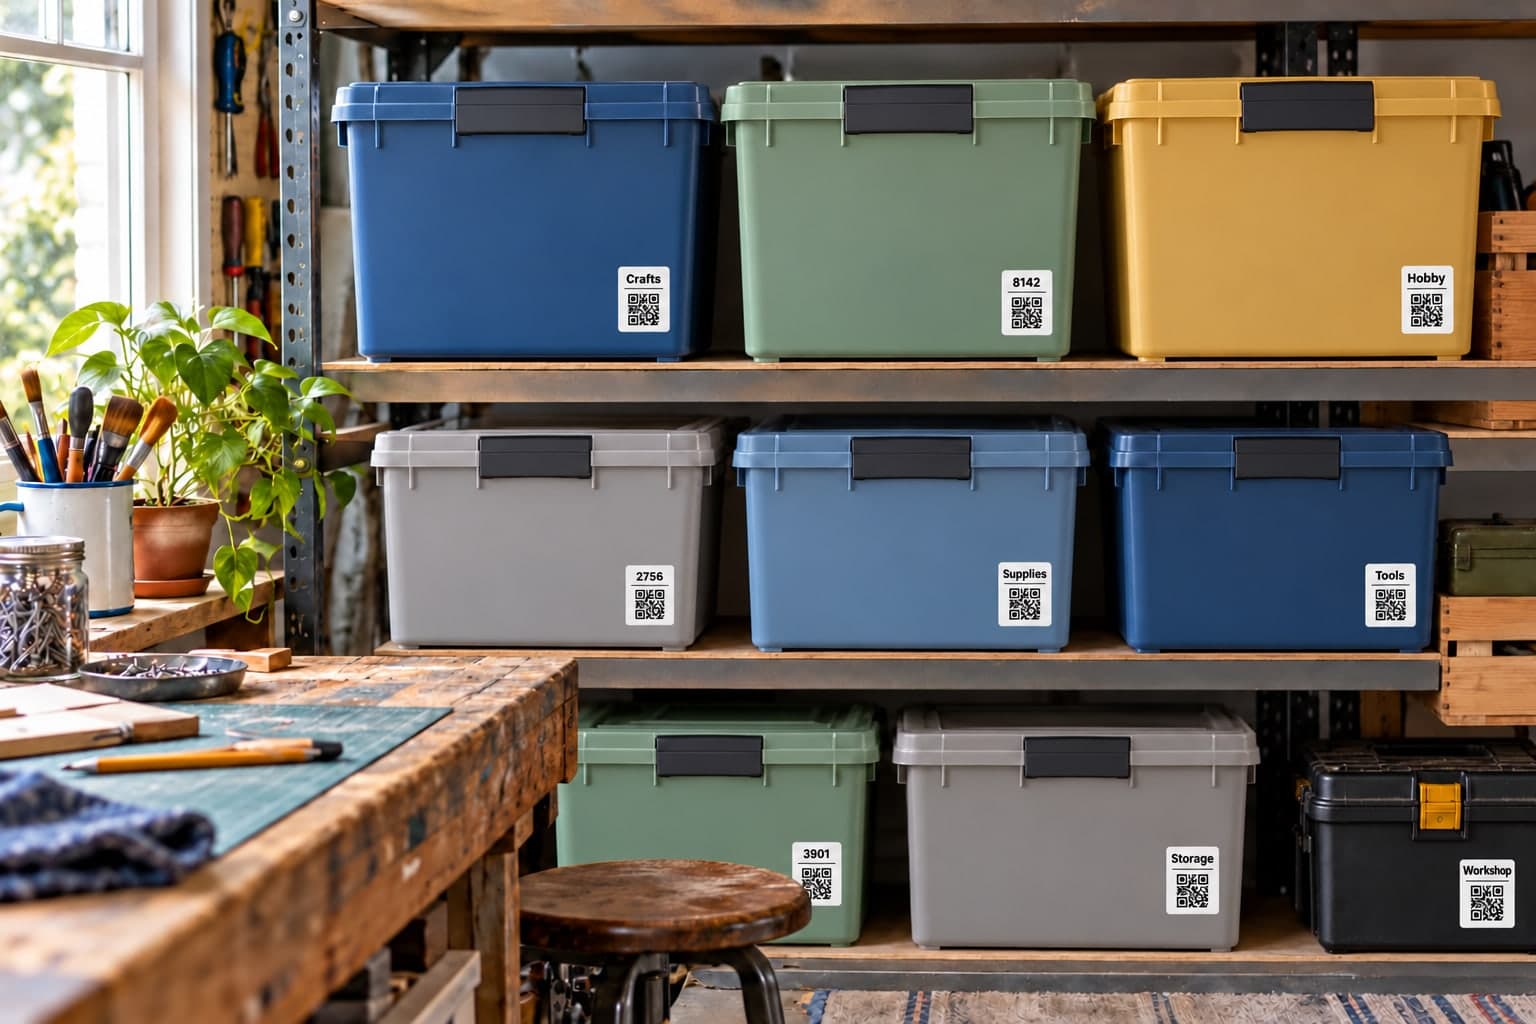
In this worked example, three similar totes get distinct identifiers and recorded shelf positions. Their contents can remain mixed where that suits the household.
Garage → Rack A → Shelf 2 holds Box 21 with extension cords and outdoor light clips. Box 22 holds hobby supplies, while Box 23 holds picnic gear. Each has a photo of recognizable contents and an identifier visible from the aisle.
When the picnic gear moves closer to the door for summer, its saved location is updated. The place label remains a pointer to the record, not a sensor or guarantee that the old photo is current.
Which belongings need a different environment or disposal route?
Choose conditions by the material and product instructions rather than by category convenience alone. A sealed container does not remove temperature, moisture, or chemical risks.
For family papers and photographs, consult the National Archives storage guidance before using an attic or basement. Keep hazardous leftovers identified and follow the EPA’s guidance and local collection instructions for disposal.
Do not treat all broken equipment or chemical containers as ordinary waste. Leave unfamiliar products identified for the appropriate decision instead of combining them into a general clearout bag.
What makes a storage area hard to use again?
Unclear identities, inaccessible stacks, and stale location records tend to recreate the search problem. Fix the retrieval route before expanding storage.
- Heavy boxes placed high: reconsider handling and suitable rated locations.
- Labels hidden by stacking: put identifiers on visible retrieval sides.
- Frequent-use gear far away: reconsider zones by use frequency.
- Seasonal contents mixed with an old photo: use a small rotation and record update.
- An item listed in its former box: update the individual item as well as any changed place photos.
Binly can help remember what lives in remote storage. You can record the existing space before deciding whether a physical reorganization is worth doing.
What are the most common questions?
These answers cover the practical choices you can make before expanding your setup.
Is overhead storage always a good way to gain space?
No. Its suitability depends on structure, installation, rated loads, clearances, and retrieval. Do not assume unused ceiling space is ready for household storage.
Do all containers need weather seals?
No. Choose a container appropriate to the material and conditions. A seal is not a substitute for a suitable storage environment.
Can I put old photos in an attic tote?
Check preservation guidance first. Heat and moisture conditions can make an attic unsuitable even when the tote has a lid.
How often should I clear the whole area?
A whole-area clearout is not required. Review a zone when access becomes difficult, contents change, or a care or safety concern needs attention.
Can I begin recording before sorting?
Yes. Capture a useful photo and actual place for the belongings you want to find later. You can update the record after any later physical changes.
For current plans and limits, see Binly pricing.
What should I do next?
Check one storage zone for suitable conditions and practical access. Identify its containers, save recognizable contents views, and test retrieving one belonging before adding more capacity.
Start with one placeKeep reading: How to choose storage zones by frequency of use.