Organization Tips · 4 min read
How to use a no-mess decluttering process in short sessions
A no-mess decluttering process handles belongings where they are instead of emptying a room first. Remove obvious trash, return items with known homes, identify straightforward donations, ask where uncertain items belong, and fit kept belongings to available space. Complete each move before starting another so an interruption leaves fewer unfinished sorting piles.
This guide is for short sessions and days when a project may be interrupted. You will use direct destinations and a small stopping point to avoid covering another room with sorting piles.
What are Dana K. White’s five no-mess steps?
White’s published sequence is trash, easy stuff, obvious donation clutter, two decluttering questions, and making the remaining belongings fit. The last step includes consolidation and container limits.
Use her original five-step printable for the source sequence. The two questions concern where you would look for an item and whether you would remember owning one.
The distinction matters: the two questions belong to one step, while fitting the kept belongings is another. Treating the questions as separate steps can lose the final check on whether storage actually works.
How do I run a short session without emptying everything?
Choose a small visible area and take each decided item directly to its destination. Stay within a scope that leaves the space usable if you stop.
- Remove obvious ordinary waste. Leave unfamiliar papers and special-disposal items for a separate decision.
- Return known belongings. Put the measuring tape in its existing drawer instead of creating a “put away” pile.
- Choose clear donations. Use an exit container only for belongings you own and have decided to release.
- Resolve an uncertain item. Consider the first place you would look and whether you would remember you owned it. Keep, relocate, or release it based on its actual usefulness to you.
- Check the fit. Consolidate what belongs together and test retrieval. Use a container boundary if the destination is crowded.
If repeated trips are impractical for your mobility or space, adapt with a small carrying tray and finish that tray before starting another. The aim is fewer unfinished transfers, not a rule about how you must move.
What can I finish on one workbench corner?
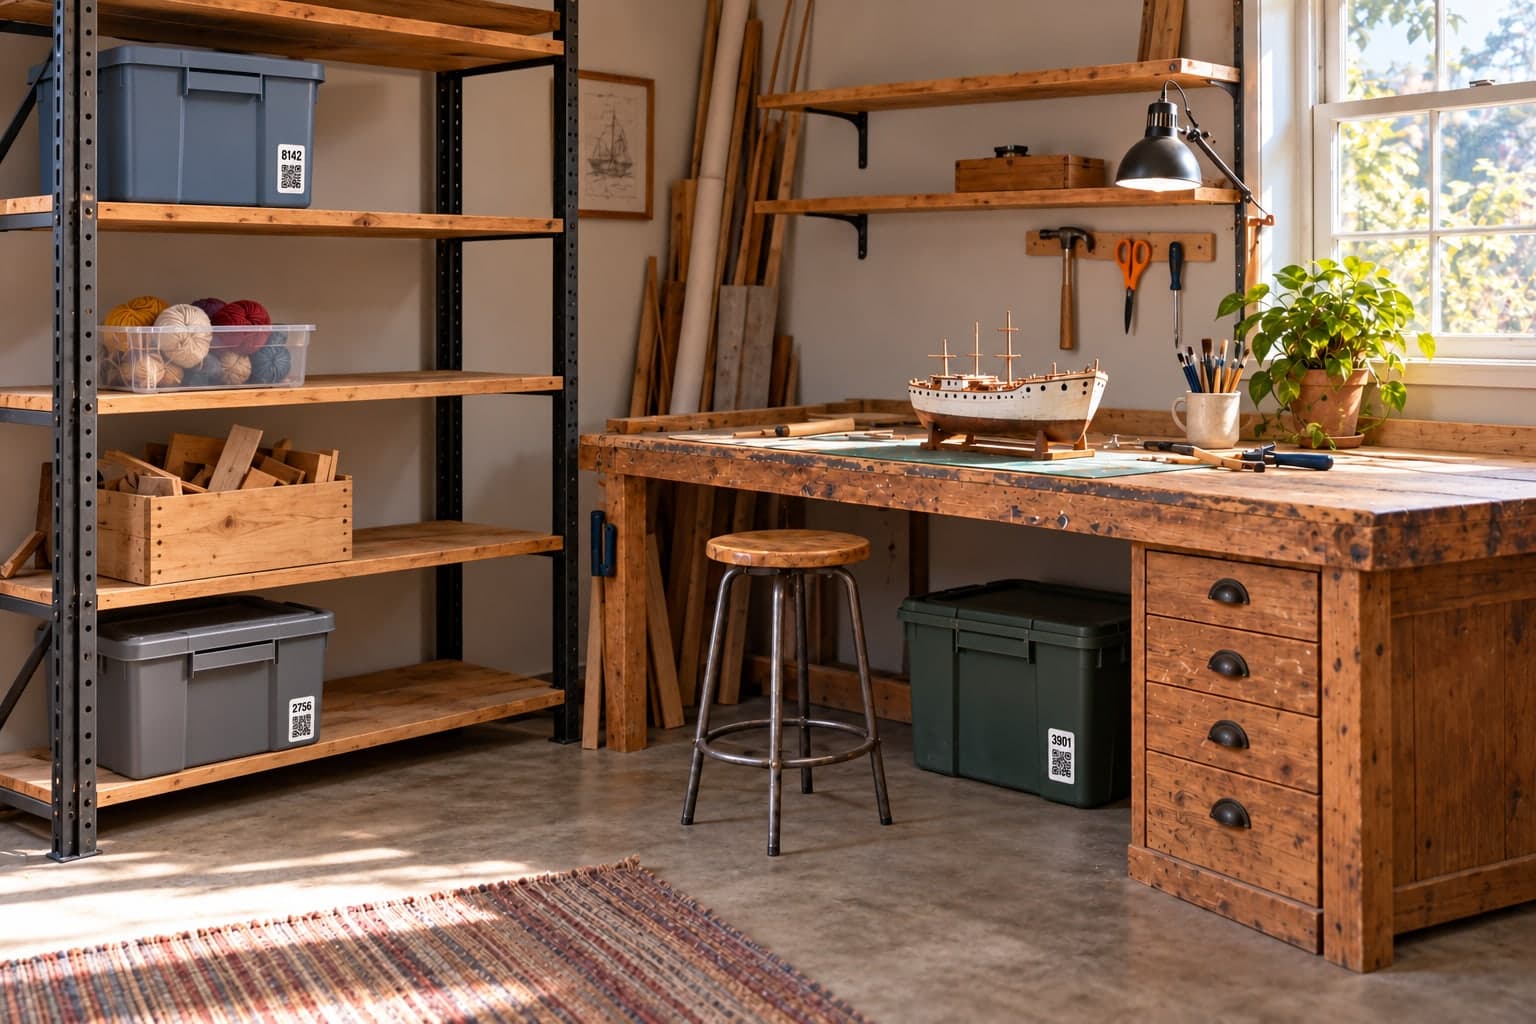
In this worked example, a person clears only the corner needed for a current repair. Every decision creates a completed result rather than a larger sorting zone.
A wrapper goes in the waste bag, a screwdriver returns to its drawer, and an unused duplicate clamp goes into a donation box after its owner chooses that destination. An unfamiliar adapter stays in place until identified; uncertainty is not treated as a reason to discard it.
The remaining repair materials fit on one tray. A photo and a place name, Workbench Right Tray, preserve their location. If the session ends here, the rest of the bench has not been emptied onto the floor.
When is a sorting-box system a better choice?
Sorting boxes can help when you have enough time and staging space to finish their destinations. Direct moves can be easier when interruption is likely or the area must remain in use.
Neither approach is universally faster. Moving individual objects takes trips, while staging boxes creates a closure task. Choose the tradeoff that suits the session; see a six-box system for a larger planned audit.
What if an item has no obvious home?
Consider where you would realistically look for it, then check that the proposed place is usable. If you cannot decide now, leave the item identifiable rather than expanding into another sorting project.
- Destination already full: stop and choose a workable limit or a different place.
- Room-to-room distraction: complete the transfer and return to the original small target.
- Unfinished exits: arrange collection or an accepted donation route before filling more boxes.
- A misleading saved location: update the item after its physical move.
Binly can hold a current place photo or a named item record while storage is still imperfect. It does not choose disposal decisions or detect a physical move for you.
What are the most common questions?
These answers cover the practical choices you can make before expanding your setup.
Do I need a timer?
No. A timer can define a session if it helps, but a small visible target works too. Leave enough time to complete the current transfer.
Should I empty one drawer first?
You can work on it in place if an interruption would make emptying it inconvenient. A full drawer review is another option when you have the time and space to put it back.
What if I genuinely need a rarely used object?
Keep it if its purpose matters to you. A memory prompt helps you evaluate a decision; it does not prove that infrequent use makes an object unnecessary.
Can children or housemates use this approach?
Yes, with an agreed scope and age-appropriate help. Let each person decide about their own belongings rather than using the process to clear someone else’s space.
What if nothing leaves the house?
Returning belongings and restoring access can still be useful progress. Disposal is only one possible outcome of a session.
For current plans and limits, see Binly pricing.
What should I do next?
Choose one small area and complete a direct transfer for one belonging. Continue while useful, then stop with destinations clear and the area still usable.
Start with one placeKeep reading: How to use the container concept to set storage limits.